
When I was in Salt Lake a month ago I went into this really cool hardware store that I can't quite remember the name of (I think it was called Silver Star Hardware). It had the largest selection of address numbers I have EVER seen. And I have always wanted to do my house address in big silver numbers, so I keep watch. At an average of $15 dollars per number, it just hasn't happened yet. I was so inspired by the variety of numbers I saw in this store, however, that I knew just how to remedy my situation and get my house address noticed.
First, I spray painted a 9.5 x 24 inch piece of scrap wood in my garage. You see, this is why I never throw anything away. My husband still doesn't get it. I distressed the edges with sandpaper. Then I found some fonts I liked - one for each number to make it fun and quirky (that's me!). I made a stencil for each number and traced those onto a product called Create With Metal Designer Metal Sheets. They come in a variety of gauges and colors. I used .005 thick, 36 gauge soft aluminum. SO EASY to work with. Not like some other kinds of metal that have left me bleeding and suffering for days. (What some people will do in the name of creativity, huh?) I cut my numbers out and attached them to my wood with Elmer's Wood Glue. I am sure there is something more effective than that, but it's what I had. I knew hot glue would probably warp the metal, so that option was out. To reenforce the numbers (and give it somewhat of an industrial appeal) I put a few nails in each number as well.
HERE is the finished product!

I love it! Not sure where I am going to put it quite yet. I set it here in the meantime. What do you think, is it fine where it is?

Or should I hang it on that left pillar?

Hmmm, I am undecided.
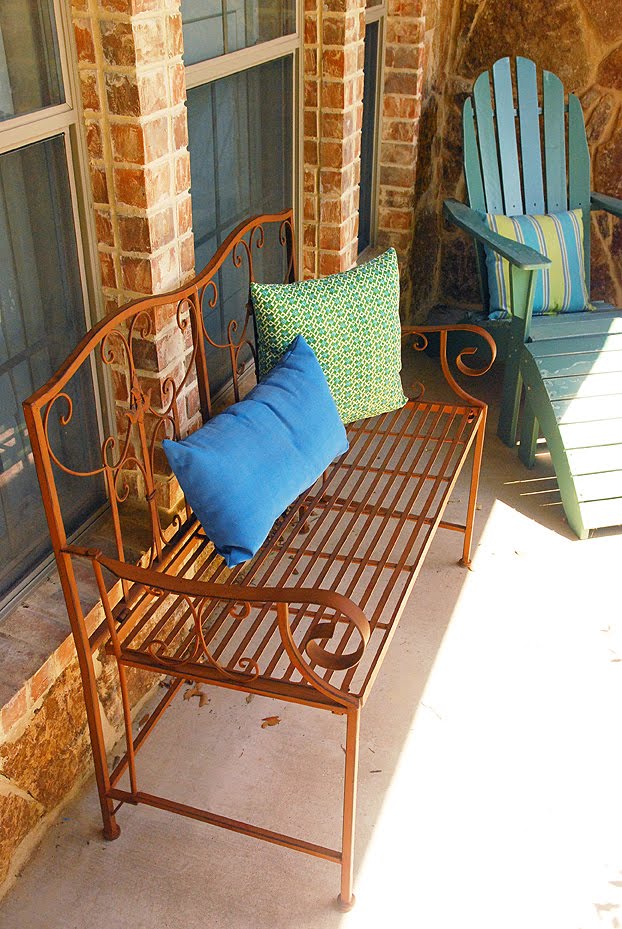
Whilst I am showing off my front porch, check out this darling bench I picked up at Tuesday Morning! I've been looking for just the right one since we moved in 2 years. And there it was all the sudden, beckoning to me. When I'd just about given up! Isn't that how it always how is with love? ;)
9 comments:
you did a GREAT job! i think you should hang it on the left pillar!
really cute and definitely needs to be hung.
FUN FUN! I think the pillar would be best...love the bench. The coppery colors are so pretty. Warm and inviting. I wish I could come visit and enjoy the beautiful Texas fall!
Your home is so pretty! What a great project. I think it would be great on the left pillar!
xoxo
Jen
I'd hang it.
Why have I never heard of this metal product before?
(And it totally is Silver Star.)
It needs to be hung for sure! Cute bench!
Great project!
.
[url=http://hostingcouponz.com/ipage-coupon/]ipage[/url]
Post a Comment