Last week I gave my 3 year old the surprise of her life by taking her to Disney World. She's going through the princess phase, so this was a huge deal for her (and me, I was on the verge of tears watching her take it all in). We had a wonderful time, it was very hot, and we got caught in a downpour our 2nd night there, but we had so much fun. Fortunately I have a cousin with a daughter Sasha's age that lives in Orlando, so we all went together and breezed through the parks and rides due to their familiarity with everything. Otherwise I might not have been able to pack as much in as I did!
Here are some pictures!
Sasha and Angelina looking at their matching shoes... and ready to leave for the park!
First stop, the carousel! Look how happy she is. :)
Listening to Belle tell her story...
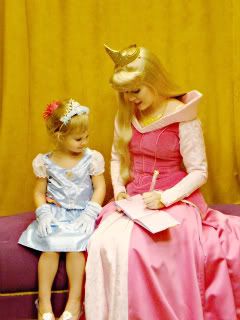
... and then getting her autograph!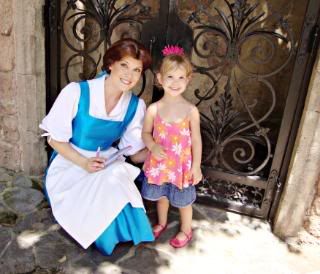
Posing with the teapots by the Mad Hatter Tea Cup ride.
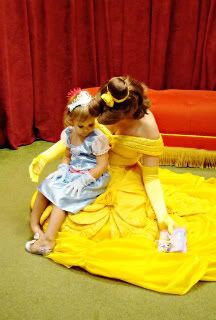
Alas, she meets the princesses!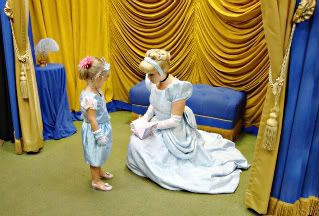
We waited a while to meet Ariel, and it was very dark so the pictures were awful. But she sure is cute in her Ariel costume!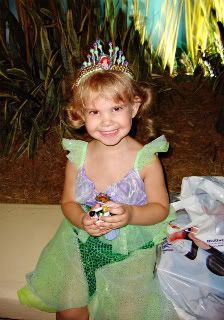
She was in awe of Cinderella's castle.
Day 2, not as many pictures, but we HAD to go back on the carousel!
So tired... (and hot, and sweaty...) 
I enjoyed spending this one-on-one time with my "baby"!

29 September 2009
Disney World!
23 September 2009
Off to where dreams really do come true...
Tomorrow I leave for Orlando with my 3 year old, Sasha. We are going to Disney World, unbeknownst to her. We have family there, and she knows we are going to visit them, but she doesn't know Disney World even exists, let alone that we are going to spend 2 whole days there. This little one is so enamored with princesses and fairy tales and magic. I cannot WAIT to see the look on her face when we walk up to that castle. In fact, I will have my video camera ready so that I can relive that moment again and again. This is going to be very, very fun. I wish they stayed little and dreamy like this forever.
15 September 2009
Snickerdoodle Cake
I just made this cake for the front office at my kids' new school (not before making one for us to eat at home, though). Seriously so good. And not so much snickerdoodley as cinnamony. Love my made up adjectives?
See the recipe here.
Ingredients:
Solid vegetable shortening for greasing the pans (Do not skip this step. Trust me on this.)
Flour for dusting the pans (See above)
1 package (18.25 ounces) plain white cake mix
1 cup whole milk
8 T (1 stick) butter, melted
3 large eggs
1 t pure vanilla extract
2 t ground cinnamon
Cinnamon Buttercream Frosting
Preheat over to 350, generously grease two 9″ round cake pans with shortening then dust with flour. Shake out the excess and put the pans aside.
Place the cake mix, milk, melted butter, eggs, vanilla, and cinnamon in a large mixing bowl. Blend with an electric mixer on low speed for 1 minute. Stop the machine and scrape down the sides of the bowl with a rubber spatula. Increase the mixer speed to medium and beat 2 minutes more, scraping the sides down again if needed. Divide the batter between the prepared pans, smoothing it out with the rubber spatula. Place the pans in the oven side by side.
Bake the cakes until they are golden brown and spring back when lightly pressed with your finger, 27 to 29 minutes. Remove the pans from the oven and place them on wire racks to cool for 10 minutes. Run a dinner knife around the edge of each layer and invert each onto a rack, then invert them again onto another rack so that the cakes are right side up. Allow them to cool completely, 30 minutes more.
Meanwhile, prepare the Cinnamon Buttercream Frosting.
Ingredients:
8 T room temperature butter
3 3/4 C confectioners’ sugar, sifted
3 to 4 T milk
1 t pure vanilla extract
1 t ground cinnamon
Place the butter in a large mixing bowl. Blend with an electric mixer on low speed until fluffy, 30 seconds. Stop the machine and add the powdered sugar, 3 T milk, vanilla, and cinnamon. Blend with the mixer on low until the sugar is incorporated, 1 minute. Increase the speed to medium and beat until light and fluffy, 1 minute more. Blend in up to 1 T milk if the frosting seems too stiff.
Place one cake layer, right side up, on a serving platter. Spread the top with frosting. place the second layer, right side up on top of the first layer and frost the top and sides of the cake with clean, smooth strokes.
Place this cake, uncovered, in the refrigerator until the frosting sets, 20 minutes. Cover the cake with waxed paper and store in the refrigerator for up to 1 week. Or freeze it, wrapped in aluminum foil, for up to 6 months. thaw the cake overnight in the refrigerator before serving.
ENJOY!!!
12 September 2009
Remember my dining room?
It was one of the first rooms I had planned out when we began building our new house. I was especially sure of the wall color I wanted - an almost Tiffany blue. The general inspiration for the room came from an Interior Design book called Modern Country, which displayed an old farm table with a black and white gingham table cloth and these fabulous, antiqued turqouise-ish chairs.
It all turned out beautifully, with very little money spent. I already had the table, a nice black armoire to compliment the Tiffany blue walls and achieve the same color scheme as in the book, and some accessories (a toile tablcloth, an old wreath to go over the knobs on the armoire). Really, all I bought was a centerpiece for the table, a mirror for the wall, and some curtains.
This is one of the first rooms you see when you walk into the house. It has a large arched entrance and therefore a lot of presence. Easily my favorite room in the house. But after living here for a year we began to realize what an inefficient use of space it was. The only times we were using it was when we had company to impress or for birthday parties. My husband hinted to me that we might consider changing the use of the space. Which made me really sad at first. But I am all about efficinecy so it made sense to me as well.
It then occurred to me how useful a craft room would be for me. I was currently using my kitchen counter for my projects... sitting on a stool, banging my legs into my cabinets, getting bits of glue all over the same area I made my kids' sandwiches every morning. I wanted, if I could, to keep the same color scheme, although one doesn't usually think of classy/traditional colors like this when it comes to a funky/creative space. The current trend errs more on the side of aqua blues and yellows and pinks. Couldn't have a pink room right there in the front of my house, sorry. I already have quite a bit of yellow in the main area of my house. And aqua was so close to what I already had it was pointless to change it. So I worked with the current color after all. And voila! Here is a sneak peek at the almost end product!

I will feature some of the details in the coming weeks. There are still a lot of finishing touches to be done... the sewing table (which I made from 2 old drawers!) needs to be stained, it needs a stool, and I have to finish some mod podge words for my wall ("inspire" and "create"). I also need to organize the inside of the armoire for all my craft supplies. It is an entertainment unit, so that huge space behind the doors is just that, a huge inefficient space. It needs shelves and drawers and stuff. Container Store here I come!!!
06 September 2009
05 September 2009
Font Project
Remember that font I told you about the other day? Well look what I did with it! I printed out the 3 and the parentheses, cut them out, mounted them on a full sheet of scrapbooking paper, and then mounted that on mat board in an 11x14 frame. I'd love to dust off my etsy shop and sell these; how cute for a birthday gift! And you can just change out the age as your child gets older!
(Initials would be cute, too.)
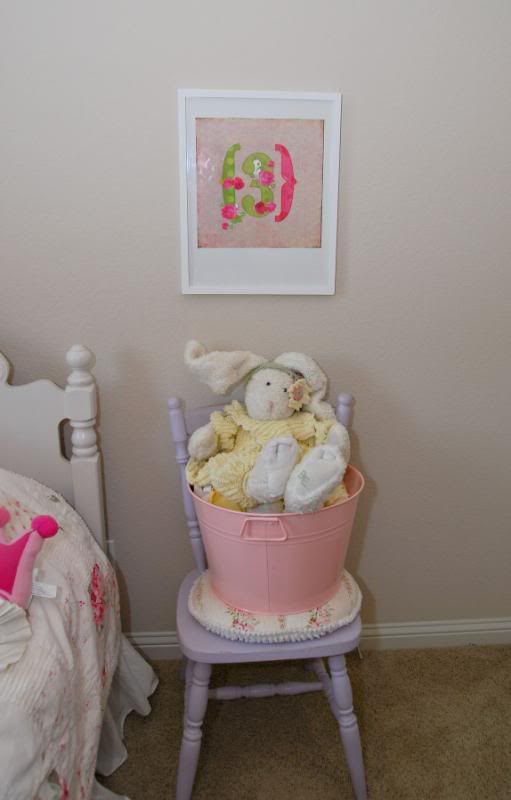
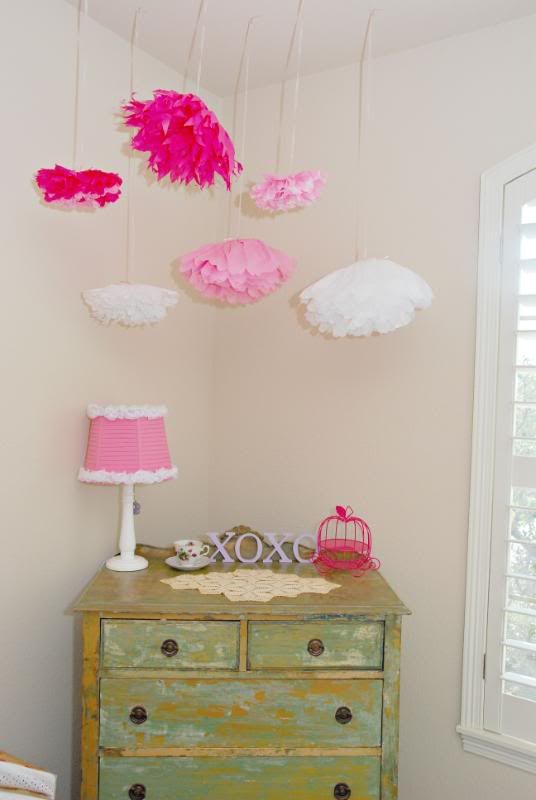
And whilst we are in Sasha's room, look what I came up with for the tissue paper flowers we made for her birthday party.
02 September 2009
Um, hello cute!
I've been playing around with the free "try me" version of this font all day. Well, not ALL day. What mom has all day? Anyway, I just stumbled upon it by accident looking for some musical clip art. The site has been down (except for the "try me" feature) but now it is up and, hello! Several of the sets are on sale for only a buck.
Of course I've already saved each letter of the alphabet as well as numbers for free, but a buck is nothing (warning: you may want to buy more than one font though, which adds up and be sure and check out the printable stuff too - cupcake invitations for only a buck!).
Oh the possibilities for this darling font! I'm thinking buttons, banners, stationary... all things girly!
http://www.letteringdelights.com/alphabet:vintage_rose-8618.html
Enjoy!!!