It's been a while since I wrote anything profound on my blog. I used to do it all the time, and then I became busier and busier and in order to keep it active I simply started posting all the projects I had going on. It wasn't long before I got really caught up in the "project-a-day" club and had to let that go as well. Last Christmas I sat in this very same spot and thought about what things I might change in 2011 to make my life feel less chaotic, less "obligatory". And I made one and only one New Years Resolution in order to help me accomplish that. To learn to feel content.
2011 started much the same as 2010 ended... with lots of responsibilities I didn't really want or need, and lots of stressing and running around and generally being the person I thought everyone expected me to be. Slowly but surely I began to let things go... little things... to give the more important things in my life room to breathe (and I continue to work on this). More importantly, however, my mindset has begun to change regarding who I want to be, how I want to be remembered, and what I want out of life.
My own mother was a busy bee. She was on the front lines of virtually every school fundraiser, church activity and neighborhood project. She epitomized a woman who was "on the ball". But inside she was a mess. She created such an alluring image of herself and family that it became all that was important to her. And we, her family, had to keep up with that image - no questions asked. So I recognize where this inbred tendency to keep a dozen plates spinning at all times comes from. And I, like my mother, have thrived on the reputation of being that woman on the ball. Its a good feeling, but not one that lasts, I'm afraid.
I wonder at what point this image became so revered. We each take the best parts of others and compare them to our worst. "I wish I was as fit as ________." "I wish I was as pretty as _______." "I wish I was as creative as _______." "I wish I had as much money as _______." "I wish my house was as clean as _______." "I wish I cooked as well as _______." "I wish I could save money as well as _______." "I wish I had as many friends as _______." "I wish I was a successful ________ like ________." And we put them all together and VOILA! that is the ideal woman. Furthermore we think this perfect multi-faceted woman we've conjured up in our minds is secure, and perfectly happy. When, truthfully, it's the woman who doesn't need to do it all and be it all to be happy that we should emulate. I envy that woman, who is content to live a simple life, and is proud enough with the respect of her family and loved ones to not go looking elsewhere in order to feel validated. Is that not what true happiness and self assurance looks like?
I'm not saying we don't need to pursue our own dreams or make ourselves a priority, but I think pure intentions and genuine fulfillment should drive our choices - whether they be to take good care of our body, our home, our family, etc. I want to get to the point where each choice I make, as to how I spend my time and energy, is a choice I think through. And a choice I am content with. I 'm tired of trying to keep up with that alluring image of the perfect woman, above all else. It drove my mother crazy - quite literally. And crazy is the only outcome I can think of for someone who can't find contentment in the small things (which ironically, for someone of that mindset, are the most important things).
I have a long way to go towards becoming that woman. I have lived a full life and experienced many wonderful things. I want badly to have all those things active in my life, all at once! But it's impossible. The analogy of the seasons rings loud and clear for me as I try and determine what is best worth my time and energy at this time in my life:
To every things there is a season, and a time for every purpose under heaven
I think my zest for experiencing everything life has to offer is indeed a blessing, but also one that I (thankfully) have plenty of time to enjoy.

20 December 2011
You can do anything, but not everything
30 November 2011
Tis the season...
I've found some time to make a few new goodies for my home this Christmas! You know how you sometimes don't know what you're missing? Well I've been missing creating with my hands. Apparently. Because now I can't seem to find a stopping point! The photography suffices to an extent, but I guess every now and then I just gotta get out the spray paint, scissors, ribbon, glue... :)
I'm foregoing tree skirts this year in favor of something simple and lovely. I cut up a bunch of burlap and made these sacks for the bottoms of my trees instead, and tied them up with lace. I'm having a mostly white Christmas this year, so it's just perfect. Perfect and simple.


01 November 2011
Carnival Birthday Party
My Drewby is 7!!! This year's party theme was "carnival"... so, so fun and full of possibilities. Luckily, both Hobby Lobby and Party City have a party line of carnival themed items. Plus I scored several items from Target's $1 spot for party favors.
I kept the decorations pretty simple...


The first thing kids wanted to do was play in the bouncy house we rented for the day:


23 October 2011
Giveaway winner! 3 Lads I need your EMAIL!
Sorry folks, I went out of town this weekend and just knew I'd forget to announce the winners last night! I know myself well apparently. Anyway, the 2 winners of the book and tights are 3 Lads and a Lass and One Fish (my cousin)! Congrats girls!!! 3 Lads and a Lass, I need your email address right away!!!
mama.musician.crafter@gmail.com
18 October 2011
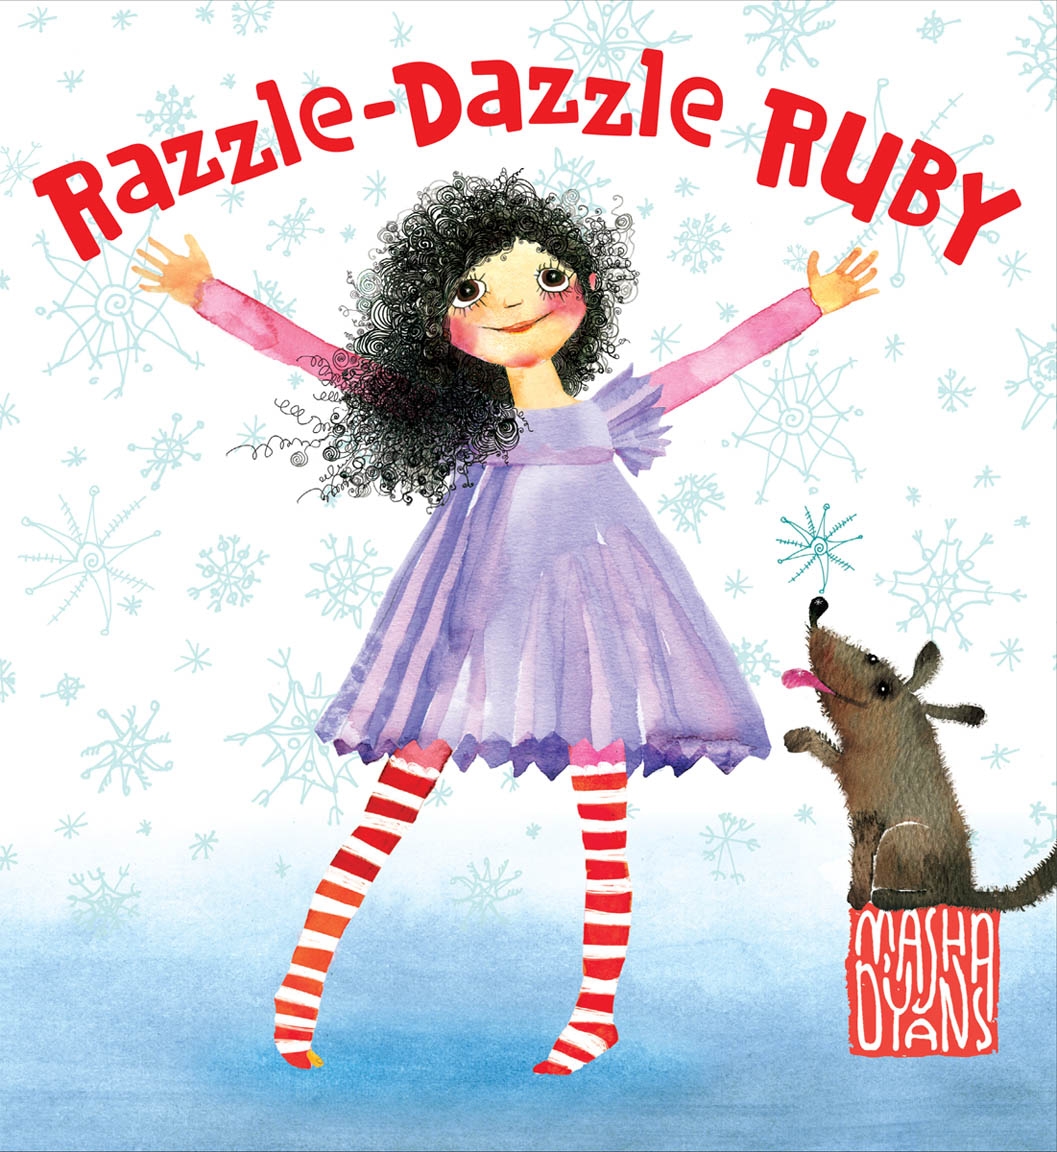
Razzle-Dazzle Ruby giveaway!!!


**be sure you leave a comment for each thing you do**
16 October 2011
Painted Pumpkins and giveaway announcement!


One more thing - there will be a great giveaway here Tuesday! Let's just say that if you have a little girl age 4-6 yrs. you are definitely going to want to enter!
See you then!
30 September 2011
Have a little fun with your photos
I took some darling (if I do say so myself) pictures of my nephew a while back while he was staying with us for the weekend. He is at that perfectly delicious chubby age where all you want to do is keep them naked and kiss all their soft rolls! I knew I wanted to capture the details - his cute, chubby little hands, his beautiful long eyelashes, his roly poly legs... and I knew that I wanted to compile them in a fun and uniquely personal way for mom.
When my kids were little their aunt took some snapshots of them and set them to the words of favorite children's books. I always loved the idea. And since I am a photographer I set out to find the perfect words to go with all of Callister's cute new pictures. I settled on Counting Kisses, by Karen Katz. Of course, it shall now be named "Counting Kisses With Callister". :)
All I did for these pictures was add a solid colored block to the right side of each image, using photoshop. You can select a portion of the picture to be covered up and then filled in, or add a block using an enlarged template, depending on the composition of your image. It's really simple, especially if you already know the basics of photoshop.


27 September 2011
Christmas Dove Ornament Tutorial
Ahem. Hello. :) Yes, I know this must look a little crazy. I fall off the face of the planet for a couple months and then come back in September with a Christmas ornament tutorial. Lol. Actually, the tutorial is old. I am bumping it up for Parenting Magazine, who wants to use my dove template in an upcoming article. Maybe though, this is just the kick in the pants I need to get back on top of this blog. I do miss it. For what it's worth - in short - life is good. Just busy, busy with my photography business and my 4 children. It's hard to do it all... my favorite quote as of late: "You can do anything, but you can't do everything." Wise words.
Anyway, on with the tutorial!
I came up with this idea after eyeing some fun ornaments in the Ballard Designs catalog a couple years ago, so I created a knock-off.
Here's theirs:
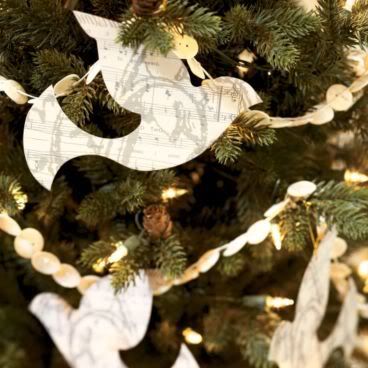
And here's mine:

I added a few simple clear ball ornaments that I simply painted peace signs onto using glitter glue (you know, the cheap stuff your kids like to play with?).
For the dove ornaments -
Materials used:
cardboard
dove template (see below)
scrapbook paper
silver sharpie
mod podge
triple thick
brush for application
First, trace your template onto cardboard or other stiff backing.

Cut out and repeat with your scrapbook paper.
Before cutting out the template drawn on your scrapbook paper, find yourself a cup that is about the right sized circle for your distressed peace symbol. Find a corner to trace the rim of the cup on - you want just a hint of it to show. *Lightly* trace your circle and fill in the remainder of the peace sign. Get your silver sharpie out. If you look at mine closely I just barely shaded in my peace sign, I used quick, short, straight brush strokes on either side of the single line I'd drawn with my pencil, keeping the thickness even all the way around. I realize not everyone can freehand this kind of thing, but it really just takes a little bit of practice. You might want to play around with a scrap piece of paper first. :)
Now you are ready to cut out your scrapbook dove and mod podge it onto your cardboard backing. Now, I call these ornaments but mine do not actually hang on my tree. I opted to stick them in with evergreen boughs in various places around my house - in a bowl as a centerpiece, and on my mantle. If you want it to serve as an actual ornament, you will obviously need to punch a hole before you apply the mod podge.
Let the mod podge dry about 15 minutes and apply your triple thick as a top coat. let the triple thick dry for at least 20 minutes. The triple thick is shiny, so it makes the ornament look classy, not like you just slapped some paper on an old piece of cardboard! Love that.
Here are some additional pictures!
In a bowl on the center of my craft room table :


And since I was really feeling the natural color scheme Ballard had going on that year, I made a paper chain to "match":

Lastly, here is a full shot of my mantle, with little silver birdies tucked in there, a crystal bead wreath, some ornaments up inside my sconces, and who knows what else to come... I'll continue to add to it, probably:


Enjoy!!!
24 June 2011
Ballet Birthday Party


22 June 2011
Getting out of auto mode!!!
Hey friends! I'm at Brown Paper Packages today with part II of getting out of auto mode! Go check it out, and if you missed part I, you can read that HERE.
Also, I was nominated for best birth photographer at Get Babied HERE. Would love it if you voted for me! There are other categories like prenatal photography (maternity) and newborn, too! Thanks so much or your support. :)
Ciao!
17 June 2011
Father's Day Printable
Well I finally got around to creating a tag for my husband's Father's Day gift. This year we are making him a treat jar for his desk at work. However, it is personalized just like a candygram. Thought maybe some of you might like it, so I created a printable for you!!!
Father's Day Tag
I've never done this before, so hopefully it works. :)
Linking up:

12 June 2011
Star Wars Birthday Party
My son Jonah turned 9 a couple weeks ago and he asked for a Star Wars themed party! We had so much fun with this!

Our first activity was balloon popping. I failed to get a picture, but I tied a balloon to each kid's ankle and they had to pop it with the other foot. Not as easy as you think. ;) Inside each balloon was a yoda sticker for them to wear.


Next we had a Jedi training session. Which was nothing short of hilarious. I had my brother lead the training (same brother who played bouncer at Adriana's Rock Star party). Honing his karate skills of old, he conocted some ingenius moves such as the Jedi side kick, and Jedi side punch. Real original, eh? He also demonstrated Jedi Mind Tricking by forcing his wife to hop on one foot and bark like a dog. Needless to say, the adults were rolling, but the boys ate it up!


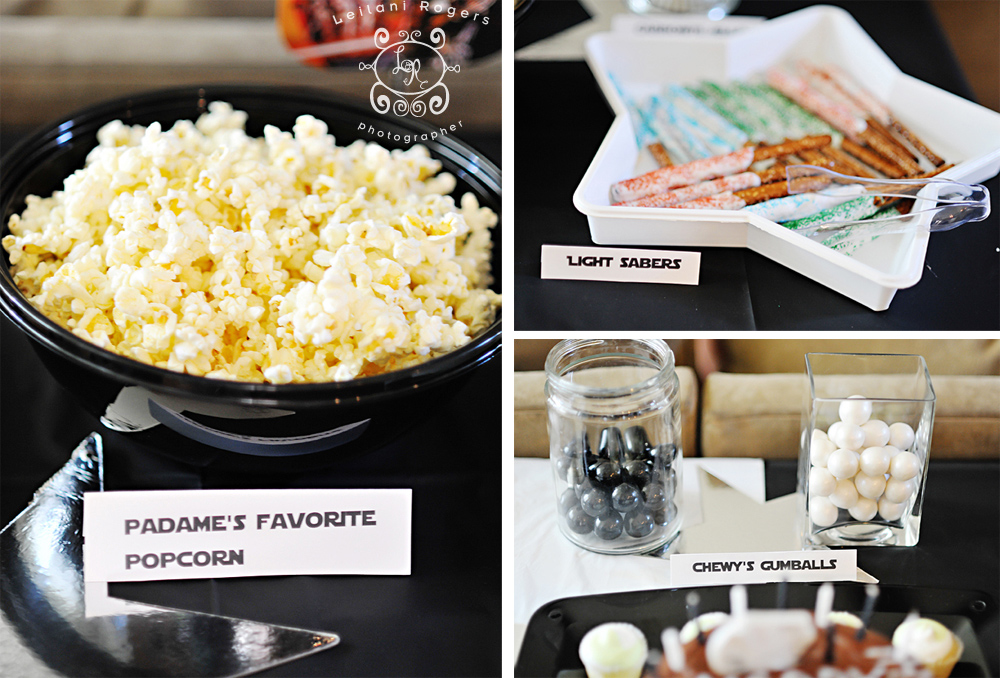


Armed with their new light sabers, the boys then played a game of keeping a balloon up in the air, using just their light saber. The wind made this the perfect challenge and they loved it!


Finally, Jonah opened his gifts.


Linking up:
