Sorry folks, I went out of town this weekend and just knew I'd forget to announce the winners last night! I know myself well apparently. Anyway, the 2 winners of the book and tights are 3 Lads and a Lass and One Fish (my cousin)! Congrats girls!!! 3 Lads and a Lass, I need your email address right away!!!
mama.musician.crafter@gmail.com

23 October 2011
Giveaway winner! 3 Lads I need your EMAIL!


18 October 2011
Razzle-Dazzle Ruby giveaway!!!
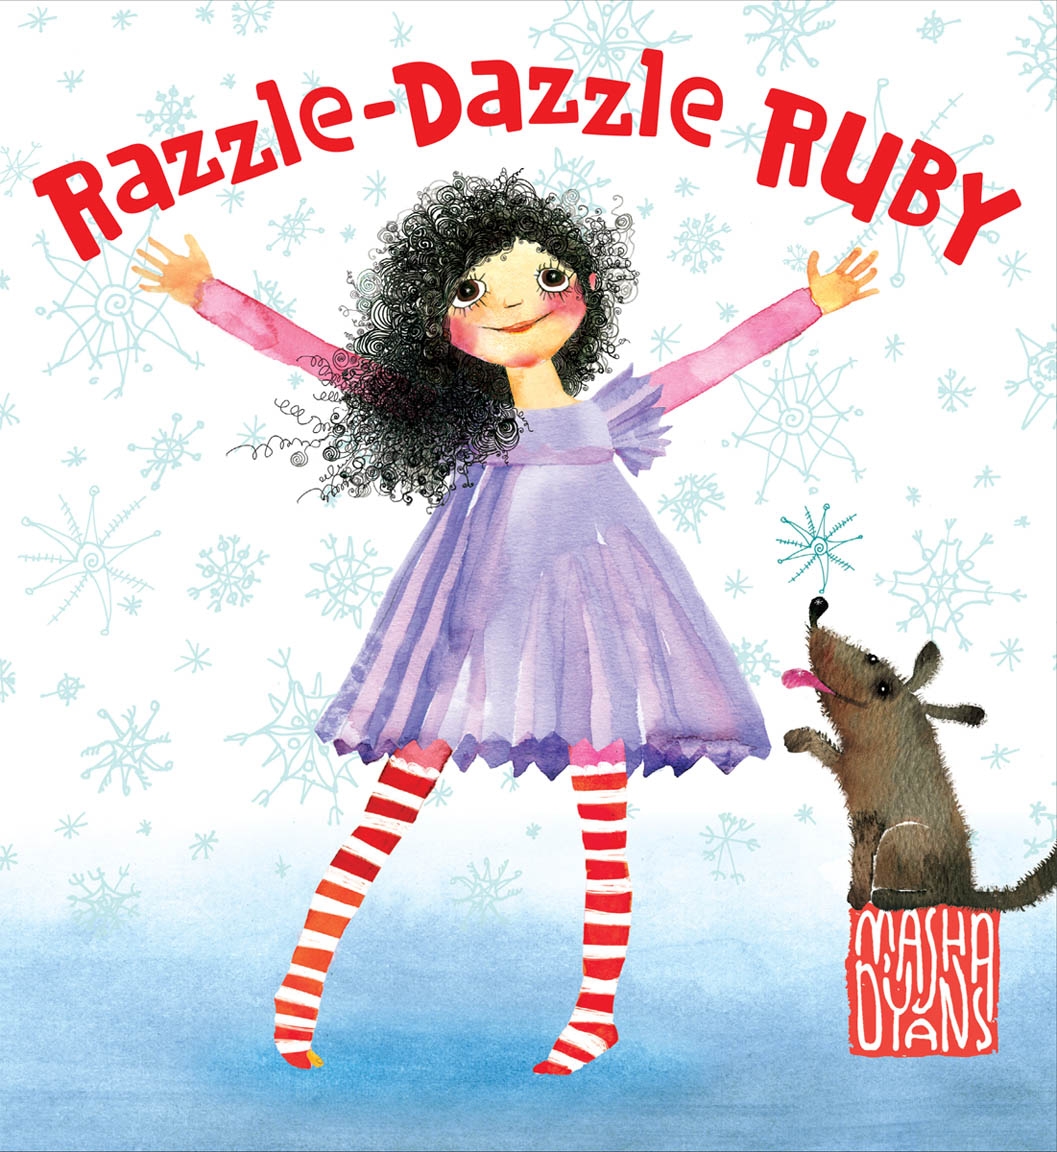
If you have a little girl age 4-8, then you are in for a treat. 2 My Many Colored Days readers will receive a copy of the book Razzle Dazzle Ruby and a pair of striped tights just like Ruby!
My official children's book reviewer (5 year old Sasha) and I found Ruby to be a very imaginative child, who like most little girls loves all things that sparkle, spin and twirl! The book is full of interactive pages that come alive with pull-tabs and picture wheels and colorful art that sparkles. Sasha fell in love with Ruby right away and so will your child!
Here is a sneak peek into the book:


{Watch the video sneak peek!}
From the publisher:
About the book:
Ruby can make the ordinary extraordinary! Come skate on a shimmering pond, roll a giant snowball, sled down a snowy hill, and create soaring snow angels with her as she becomes a snow queen and transforms a typical winter day into a gleaming-beaming fairy tale. Combining glorious watercolors, elegant paper engineering, and whimsical storytelling, this joyful novelty picture book is sure to enchant children and adults.
About the author:
Masha D’yans is an award-winning artist. Her line of greeting cards, clothing, and home décor, featuring her alluring artwork, are sold at Target, Macy’s, Urban Outfitters, Nordstrom, as well as other major retailers and smaller specialty shops. Originally from St. Petersburg, Russia, and classically trained at the St. Petersburg Academy of Art Lyceum and subsequently at Cooper Union in New York City, she now lives and works in Manhattan. Razzle-Dazzle Ruby is her first book. Vist her at www.masha.com .
For more, you can also visit www.razzledazzleruby.com!
HOW TO ENTER:
-leave a comment (1 entry)
-become a follower of this blog (1 entry)
-"like" Leilani Rogers, Photographer on Facebook HERE! (1 entry)
**be sure you leave a comment for each thing you do**
**be sure you leave a comment for each thing you do**
GOOD LUCK! Winners will be announced Sat. evening, 7pm MST!
16 October 2011
Painted Pumpkins and giveaway announcement!
Well - I did it. I made myself sit down and make something this week. Actually, I made a few things. I've been missing my paint brushes, fabric and tulle (oh my!).
I hadn't painted pumpkins in a while. And I needed something to do last week with my kiddos for family night. You can see their pumpkins here (as part of my photography post at Brown Paper Packages). My porch this year is predominantly black and white, so this is what I came up with for my own this year:

The striped one was easy... I just followed the lines of the pumpkin. For the chevron pattern I actually used electrical tape. Trying to decide if I think it looks good that way or if I should paint the pattern. The polka dots are painted. And the damask pattern I found on google images. I printed it out and copied it onto the pumpkin. All 3 pumpkins took me about 30 minutes to finish. And I used craft paint, which dries quickly. So it was a fast project.
Here's the rest of my porch... tutorial for the wreath coming up in a few days!

{Just love my big ole spider!!!}

One more thing - there will be a great giveaway here Tuesday! Let's just say that if you have a little girl age 4-6 yrs. you are definitely going to want to enter!
See you then!
30 September 2011
Have a little fun with your photos
I took some darling (if I do say so myself) pictures of my nephew a while back while he was staying with us for the weekend. He is at that perfectly delicious chubby age where all you want to do is keep them naked and kiss all their soft rolls! I knew I wanted to capture the details - his cute, chubby little hands, his beautiful long eyelashes, his roly poly legs... and I knew that I wanted to compile them in a fun and uniquely personal way for mom.
When my kids were little their aunt took some snapshots of them and set them to the words of favorite children's books. I always loved the idea. And since I am a photographer I set out to find the perfect words to go with all of Callister's cute new pictures. I settled on Counting Kisses, by Karen Katz. Of course, it shall now be named "Counting Kisses With Callister". :)
All I did for these pictures was add a solid colored block to the right side of each image, using photoshop. You can select a portion of the picture to be covered up and then filled in, or add a block using an enlarged template, depending on the composition of your image. It's really simple, especially if you already know the basics of photoshop.


These can be printed out and put in a photo album, or made into a book through Shutterfly. What a fun memento of baby's most darling stage!
Other books that would work great for this project:
I Love You Through and Through - Bernadette Rosetti Shustak (another good baby one - this is the one my sis-in-law used)
Here Are My Hands - Bill Martin Jr. and John Archambault (great for a preschooler)
Blue Hat Green Hat - Sandra Boynton (think how much fun a toddler would have with this)
Linking up with Tatertots and Jello!!!

27 September 2011
Christmas Dove Ornament Tutorial
Ahem. Hello. :) Yes, I know this must look a little crazy. I fall off the face of the planet for a couple months and then come back in September with a Christmas ornament tutorial. Lol. Actually, the tutorial is old. I am bumping it up for Parenting Magazine, who wants to use my dove template in an upcoming article. Maybe though, this is just the kick in the pants I need to get back on top of this blog. I do miss it. For what it's worth - in short - life is good. Just busy, busy with my photography business and my 4 children. It's hard to do it all... my favorite quote as of late: "You can do anything, but you can't do everything." Wise words.
Anyway, on with the tutorial!
I came up with this idea after eyeing some fun ornaments in the Ballard Designs catalog a couple years ago, so I created a knock-off.
Here's theirs:

And here's mine:

I added a few simple clear ball ornaments that I simply painted peace signs onto using glitter glue (you know, the cheap stuff your kids like to play with?).
For the dove ornaments -
Materials used:
cardboard
dove template (see below)
scrapbook paper
silver sharpie
mod podge
triple thick
brush for application
First, trace your template onto cardboard or other stiff backing.

Cut out and repeat with your scrapbook paper.
Before cutting out the template drawn on your scrapbook paper, find yourself a cup that is about the right sized circle for your distressed peace symbol. Find a corner to trace the rim of the cup on - you want just a hint of it to show. *Lightly* trace your circle and fill in the remainder of the peace sign. Get your silver sharpie out. If you look at mine closely I just barely shaded in my peace sign, I used quick, short, straight brush strokes on either side of the single line I'd drawn with my pencil, keeping the thickness even all the way around. I realize not everyone can freehand this kind of thing, but it really just takes a little bit of practice. You might want to play around with a scrap piece of paper first. :)
Now you are ready to cut out your scrapbook dove and mod podge it onto your cardboard backing. Now, I call these ornaments but mine do not actually hang on my tree. I opted to stick them in with evergreen boughs in various places around my house - in a bowl as a centerpiece, and on my mantle. If you want it to serve as an actual ornament, you will obviously need to punch a hole before you apply the mod podge.
Let the mod podge dry about 15 minutes and apply your triple thick as a top coat. let the triple thick dry for at least 20 minutes. The triple thick is shiny, so it makes the ornament look classy, not like you just slapped some paper on an old piece of cardboard! Love that.
Here are some additional pictures!
In a bowl on the center of my craft room table :

A spin off - just brown craft paper with silver polka dots:

And since I was really feeling the natural color scheme Ballard had going on that year, I made a paper chain to "match":

Lastly, here is a full shot of my mantle, with little silver birdies tucked in there, a crystal bead wreath, some ornaments up inside my sconces, and who knows what else to come... I'll continue to add to it, probably:


Enjoy!!!
Subscribe to:
Posts (Atom)